Polina Tankilevitch
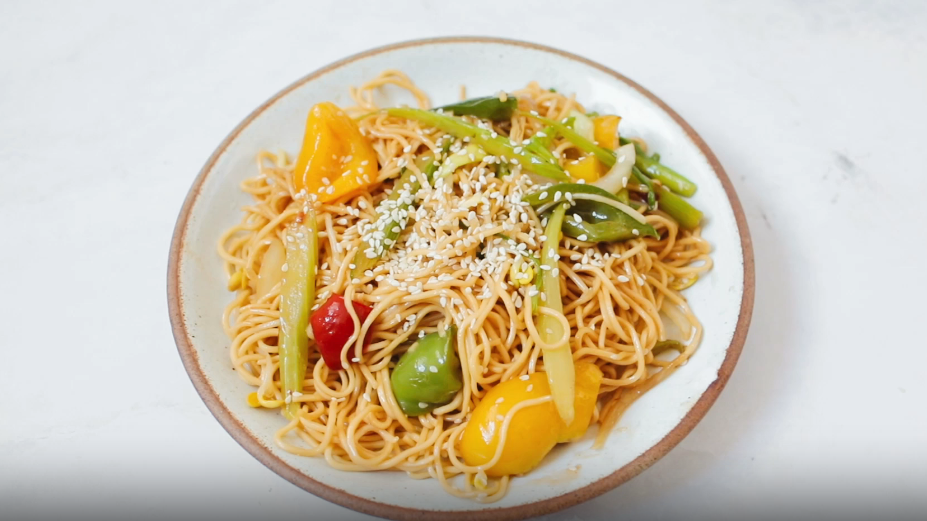
Asian Rice Noodles with Red, Green, and Yellow Peppers in Light Hoisin Sesame Sauce
Servings: 4
Ingredients:
- 250g Asian rice noodles
- 1 red bell pepper, thinly sliced
- 1 green bell pepper, thinly sliced
- 1 yellow bell pepper, thinly sliced
- 2 tablespoons sesame oil
- 3 cloves garlic, minced
- 2 tablespoons hoisin sauce
- 2 tablespoons soy sauce
- 1 tablespoon rice vinegar
- 1 tablespoon honey or brown sugar
- 1 teaspoon grated ginger
- 1 tablespoon sesame seeds, toasted
- 2 green onions, thinly sliced (for garnish)
- Salt and pepper to taste
Instructions:
- Prepare Rice Noodles:
- Cook the rice noodles according to package instructions until they are al dente. Drain and rinse with cold water to stop the cooking process. Set aside.
- Prepare the Vegetables:
- Heat one tablespoon of sesame oil in a large skillet or wok over medium-high heat.
- Add minced garlic, grated ginger, and sauté for about 1 minute until fragrant.
- Add the sliced bell peppers to the skillet. Stir-fry for 3-4 minutes until they are tender-crisp. Season with salt and pepper to taste.
- Once the peppers are cooked, transfer them to a plate and set aside.
- Prepare the Sauce:
- Whisk together hoisin sauce, soy sauce, rice vinegar, and honey (or brown sugar) in a small bowl until well combined.
- Combine Everything:
- Heat the remaining tablespoon of sesame oil in the skillet over medium heat.
- Add the cooked rice noodles to the skillet and the prepared sauce. Toss the noodles until they are evenly coated with the sauce and heated through.
- Once the noodles are heated, add the cooked bell peppers back into the skillet. Toss everything together until well combined.
- Serve:
- Transfer the noodles and bell peppers to serving plates.
- Sprinkle toasted sesame seeds and sliced green onions on top for garnish.
- Serve hot and enjoy delicious Asian rice noodles with red, green, and yellow peppers in light hoisin sesame sauce.
Feel free to adjust the seasoning and ingredients according to your taste preferences.
Celebrity WEB Update— Premier Jewelry designer and manufacturer fashion house ParisJewelry.com has started manufacturing a new custom line of celebrity jewelry designs with 30% Off and Free Shipping. Replenish Your Body- Refilter Your Health with OrganicGreek.com Vitamin Bottles, Vitamins, and Herbs. Become a WebFans Creator and Influencer. Check the New Special XMicro Razors for Men & Women, 1 Razor, 7 Blade Refills with German Stainless Steel, Lubricated with Vitamin E for Smooth Shave, Shields Against Irritation, Version X Men|Women